
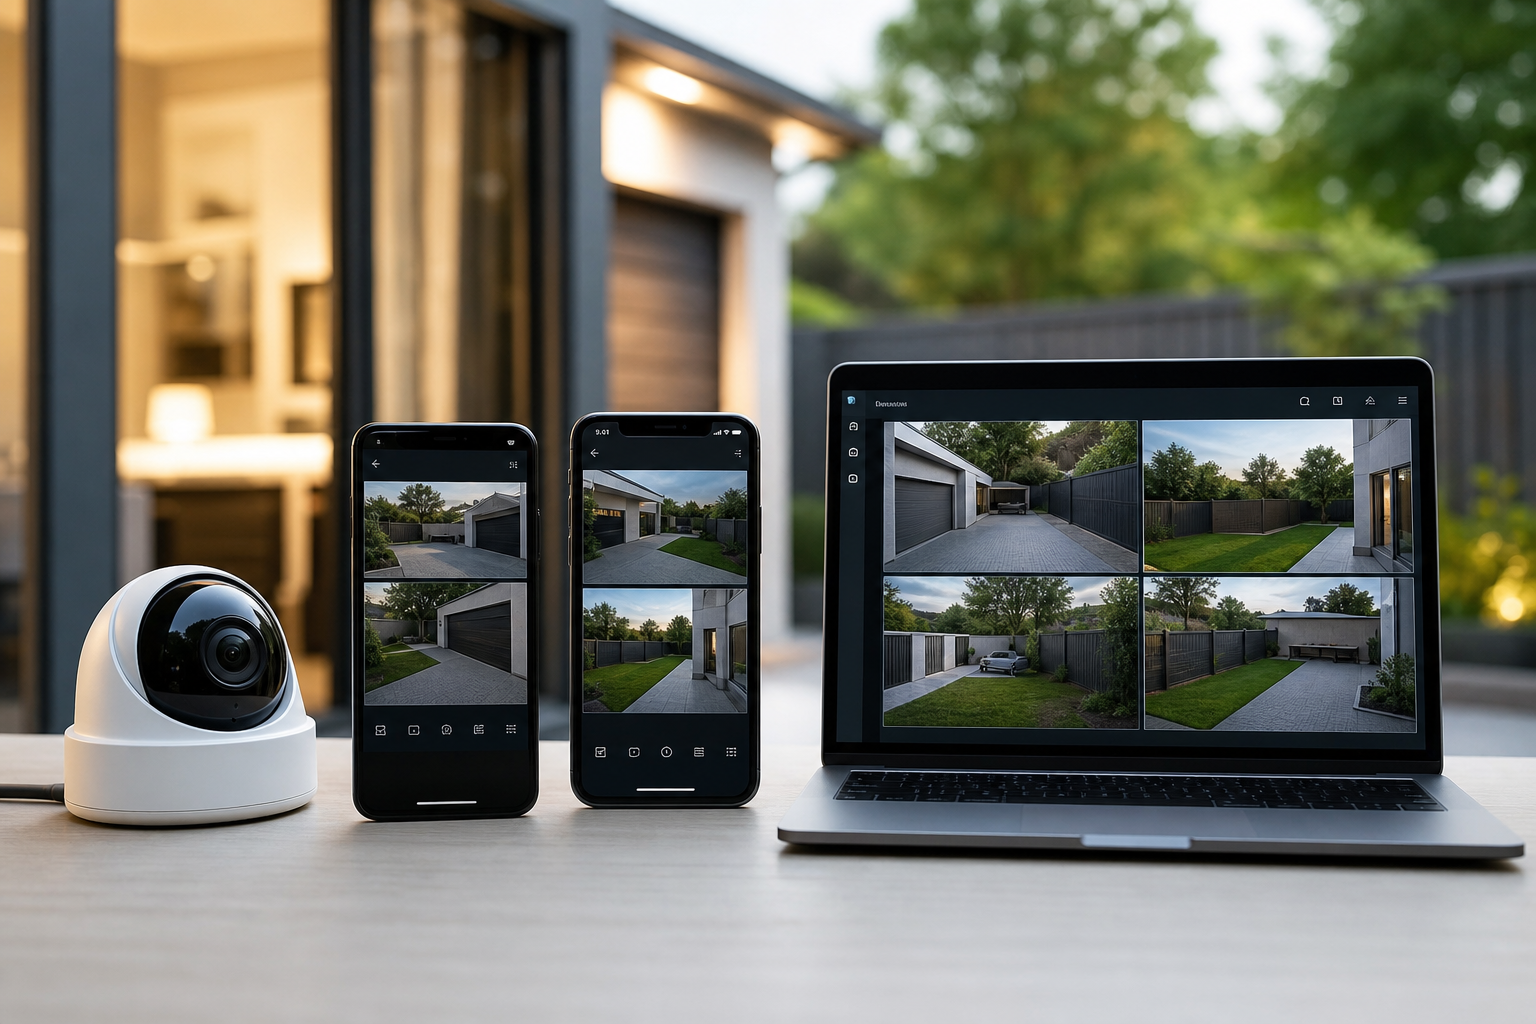
Camera app setup for Android, iPhone and Windows
This camera app setup guide walks you through a compact checklist and step-by-step actions for most consumer Wi-Fi and IP cameras on Android, iPhone and Windows. It covers prerequisites, on-phone pairing, desktop options, brand notes for Wyze and Tapo, common fixes and essential privacy checks. If your system is a commercial PoE camera bank, a DVR or a networked NVR that requires structured cabling, skip to the section on when to call a professional.
Before you start: quick checklist
Stop and confirm each item before you begin. Correct preparation cuts setup time and reduces errors.
- Power, confirm the camera has the correct power source. Plug-in cameras need the included adapter, battery cameras must be charged, and PoE cameras require an Ethernet injector or switch.
- Wi-Fi band, most consumer cameras require a 2.4 GHz Wi-Fi network for initial pairing. If your router uses a combined name for 2.4 GHz and 5 GHz, split the SSIDs or temporarily disable 5 GHz during setup.
- Phone or tablet, have the device you will use for setup ready and updated. Note Android and iPhone OS versions that the camera vendor lists as compatible.
- App and account, download the camera maker's official app and create a login before pairing. Some apps ask for verification by email or SMS during setup.
- Model pairing method, find the camera's QR code, or the SETUP or reset button. Many cameras require pressing a button during the app flow; consult your quick start guide.
- Permissions, be prepared to allow app permissions such as location, camera, microphone and notifications so pairing and live view work correctly.
- Stop point, if your camera is a PoE IP camera, a multi-camera NVR, or needs ceiling mounts and wired runs, consider scheduling professional help rather than forcing a consumer pairing flow.
Step-by-step setup on Android and iPhone
These ordered steps apply to most modern consumer Wi-Fi cameras. Pause at each step until you confirm the expected result.
1. Install and open the official app
Find the vendor app in the Google Play Store or Apple App Store. Install and open the app. Create or sign into the vendor account if requested. Having the account already active avoids interruptions while the camera tries to register.
2. Start the Add Device flow
In the app tap Add Device or the plus icon. Select the camera type or model family from the list. Most apps present an ordered device list so pick the model that matches the label on your camera.
3. Power the camera and enter pairing mode
Power the camera and wait for the indicator light pattern described in the quick start sheet. When prompted by the app, scan the camera QR code or press the physical SETUP button. For example, the Wyze Cam v4 guide instructs users to plug the camera into power and press the SETUP button behind the lens when the app asks for it to proceed with pairing Wyze Cam v4 setup guide.
4. Connect the camera to Wi-Fi
Enter your Wi-Fi SSID and password when the app asks. If the app requires 2.4 GHz specifically, connect your phone to the 2.4 GHz SSID or ensure the camera sees the 2.4 GHz network. TP-Link notes that Tapo cameras connect to 2.4 GHz during initial configuration through the Add Device flow Tapo camera setup.
5. Wait for provisioning and confirm live view
The app will show a progress indicator while it configures the camera on your network. When provisioning completes the app should display live video. If you see a frozen or black screen, return to the app's troubleshooting tips or repeat the pairing flow after a reboot.
6. Name the camera and set basics
Give the camera a descriptive name such as Front porch or Back lane. Set basic notification preferences so alerts match your needs. Configure time zone and video quality if the app requests it.
Notes on alternative pairing methods
Some cameras use Bluetooth assisted setup or temporary AP mode where the camera broadcasts a setup SSID. Follow the model specific prompts. If you encounter a QR code scan step but your phone camera will not read it, try the manual entry option if the app provides one.
Using cameras with Windows or a desktop app
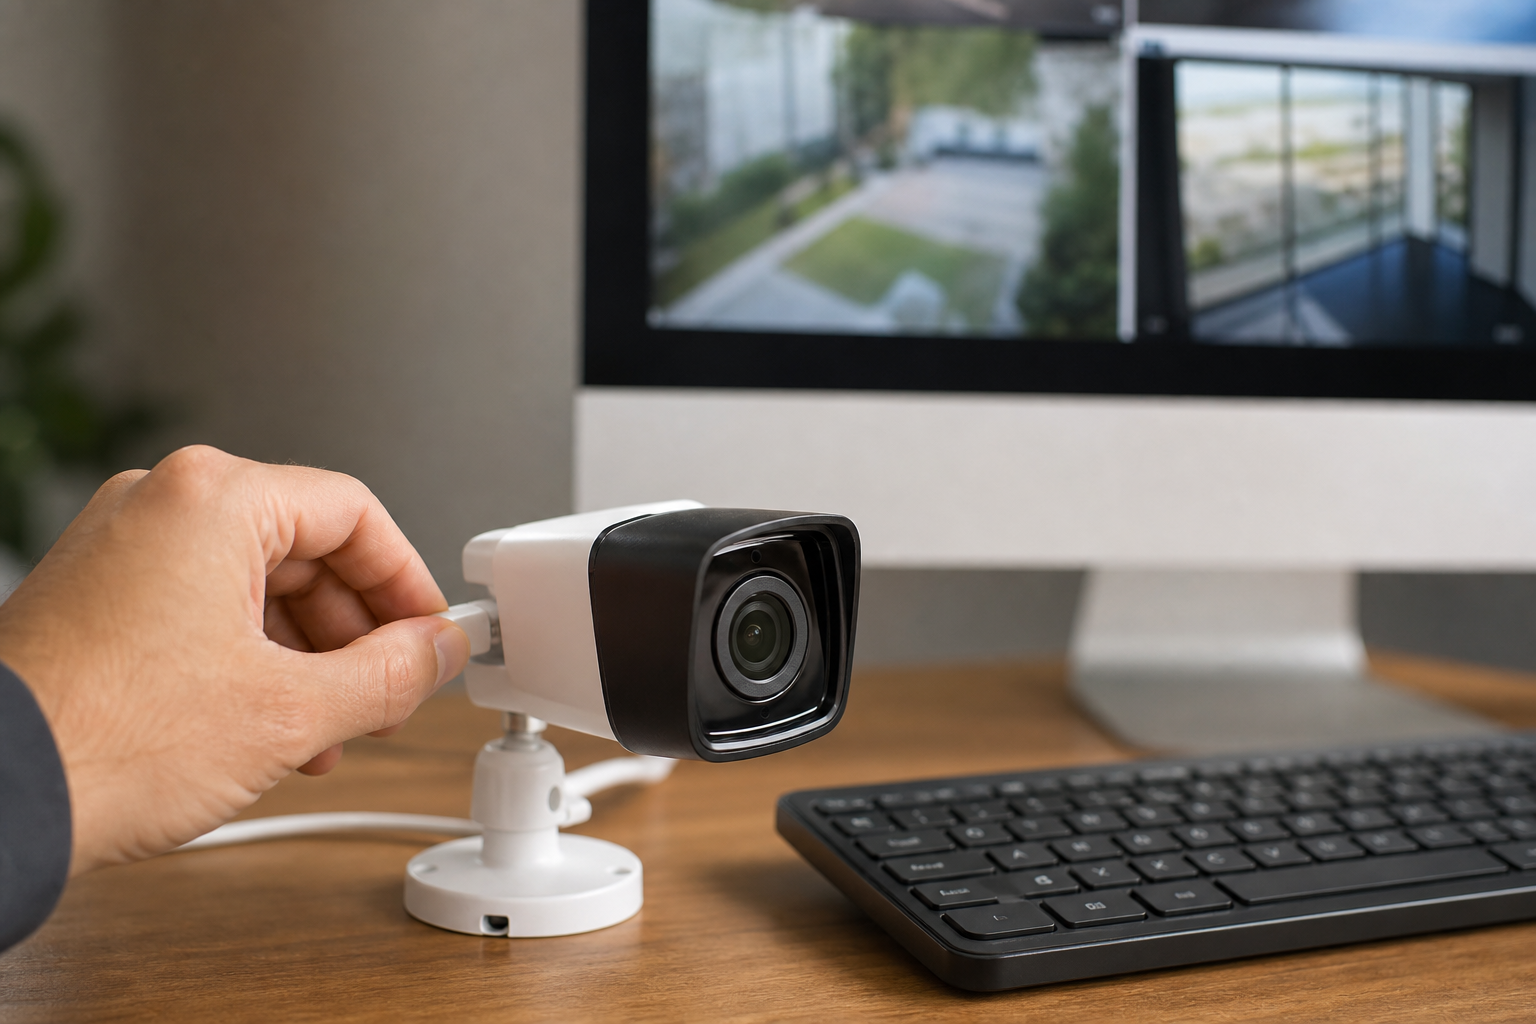
There are two common desktop scenarios. Choose the one that fits your needs.
A. Built-in webcams and the Windows Camera app
For USB webcams or built-in laptop cameras use the Windows Camera app to view, record and change camera settings. Open the Camera app from the Start menu. The app lets you switch between photo and video modes and adjust basic camera settings in Settings How to use the Windows Camera app.
B. IP cameras and vendor desktop clients
For networked IP cameras many vendors provide a web portal or a Windows client that can manage multiple cameras, schedule recordings and apply firmware updates. Some systems support RTSP or ONVIF so third party viewers can display streams. Use a desktop client when you need continuous monitoring, multi-camera layouts or local recording to a PC or NVR.
Brand notes: Wyze and Tapo examples
These examples show where the general steps are mirrored by vendor guidance so you can map actions to your model.
- Wyze Cam v4 — power the camera, open the Wyze app, choose Add Device and follow the prompts. When the app asks press the SETUP button located behind the lens to enter pairing mode, then continue through the in-app flow to connect the camera to Wi-Fi Wyze Cam v4 setup guide.
- Tapo cameras — open the Tapo app, tap Add Device and pick your camera. During the initial configuration the camera connects to your 2.4 GHz network through the app so confirm you are on the correct band while entering SSID and password Tapo camera setup.
Troubleshooting the most common setup problems
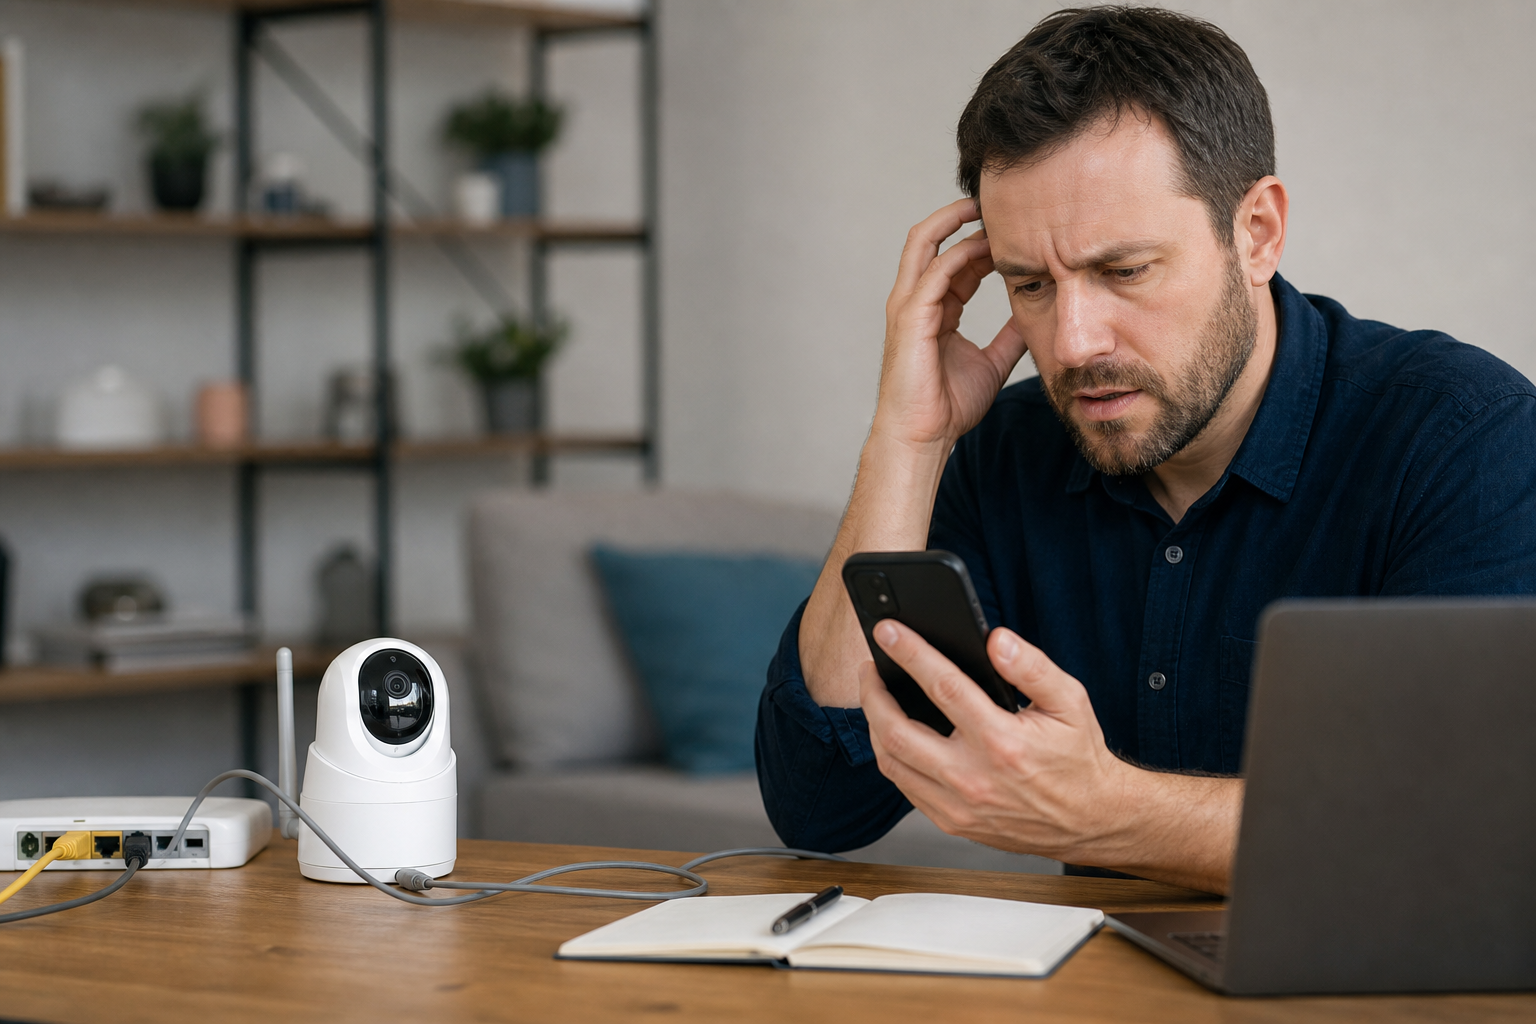
Here are short diagnostics and practical fixes for frequent failures. Try the listed fixes in order and stop when the camera pairs successfully.
Camera not discovered
- Check power and indicator lights. Reboot the camera by unplugging and plugging it back in.
- Verify you selected the correct device model in the app.
- If pairing via QR scan, ensure the code is clean and the phone camera lens is not smeared. Try manual entry if available.
- When to escalate, contact vendor support or a professional if the camera never enters pairing mode despite power cycling.
Camera fails to join Wi-Fi
- Confirm you entered the correct SSID and password for the 2.4 GHz network.
- If your router uses band steering, temporarily split the SSIDs or disable 5 GHz until setup completes.
- Move the camera closer to the router during initial setup to avoid weak signal interruptions.
- When to escalate, call a network technician if your home Wi-Fi has persistent compatibility problems or if the camera requires enterprise-style authentication.
Intermittent video or weak stream
- Test network speed at the camera location with a phone. If the connection is poor, consider moving the camera, adding a mesh node or using a wired network option.
- Reduce video quality in the app to lower bandwidth use and observe if stability improves.
- When to escalate, choose professional installation for long cable runs, PoE supply or a dedicated NVR for multiple cameras.
App permission or account problems
- Grant required permissions for location and notifications during initial setup. On iPhone check Settings, on Android check App permissions.
- Verify your account email or phone verification steps completed before pairing.
Privacy and security settings to check after setup
After your camera is online perform these checks to reduce accidental exposure and to keep control of your recordings.
- Change the default password for the camera account and use a strong, unique password.
- Enable two-factor authentication for the vendor account if it is offered.
- Install firmware updates promptly from the app so the camera has vendor security fixes.
- Limit sharing and cloud access. Avoid public links and disable open sharing unless required.
- Consider network isolation by placing cameras on a separate guest VLAN or SSID to reduce lateral access to your main devices.
- Decide between cloud and local recording, weighing convenience against privacy. Local storage keeps data on site while cloud offers remote backup and alerts.
When to call a professional installer
Call a professional installer such as True Vision Surveillance when your project includes any of the following:
- Multiple cameras requiring PoE wiring, structured cable runs or a central NVR.
- Ceiling mounts, outdoor weatherproofing or discreet placement that needs ladders and tools.
- Persistent network problems after basic troubleshooting, or a requirement for a separate camera VLAN and secure configuration.
- Site surveys for optimal camera placement to avoid blind spots, glare and privacy issues.
A professional visit typically includes a site survey, recommended camera positions, network configuration and, if needed, cabling and NVR setup. True Vision Surveillance provides national service coverage across Canada and can advise whether your system is a DIY fit or if a pro installation is appropriate. For direct assistance call +1 (647) 526-2202 or visit True Vision Surveillance.
Next steps and contact
If you need vendor details consult the Wyze and Tapo support pages for model-specific diagrams and troubleshooting. The Wyze Cam v4 guide explains the SETUP button pairing procedure Wyze Cam v4 setup guide, and TP-Link documents the Tapo Add Device flow that requires 2.4 GHz during initial configuration Tapo camera setup. If you prefer professional installation or need network cabling and multi-camera configuration contact True Vision Surveillance at +1 (647) 526-2202 or visit True Vision Surveillance.
Frequently asked questions
How long does camera app setup usually take
Most single consumer cameras take 10 to 30 minutes from unboxing to live view when prerequisites are ready. Larger multi-camera systems and wired installations will take longer and may require a site visit.
Which Wi-Fi band do most camera apps require
Most consumer indoor cameras require a 2.4 GHz Wi-Fi network for initial pairing. Some dual band routers use band steering which can interfere with setup, so temporarily separating SSIDs often helps.
What should I try if the app cannot find my camera
Check power and indicator lights, confirm you selected the correct model in the app, move the camera closer to the router, and ensure your phone is on the same 2.4 GHz network during pairing. If problems persist reboot the camera and router and try again.
Can I use a camera app without a cloud account
Some cameras offer local recording to an SD card or an NVR so limited functionality is possible without a cloud account. Many vendor apps still require an account to register the device and to receive firmware updates.
How can I view my camera on multiple devices
Most vendor apps allow you to sign into the same account on multiple phones and tablets simultaneously. For more advanced needs use a desktop client or NVR that supports multiple concurrent viewers.
For professional help with multi-camera systems, wired installations or a site survey contact True Vision Surveillance or call +1 (647) 526-2202.